
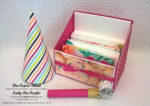
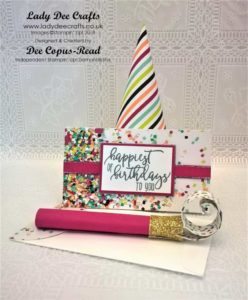
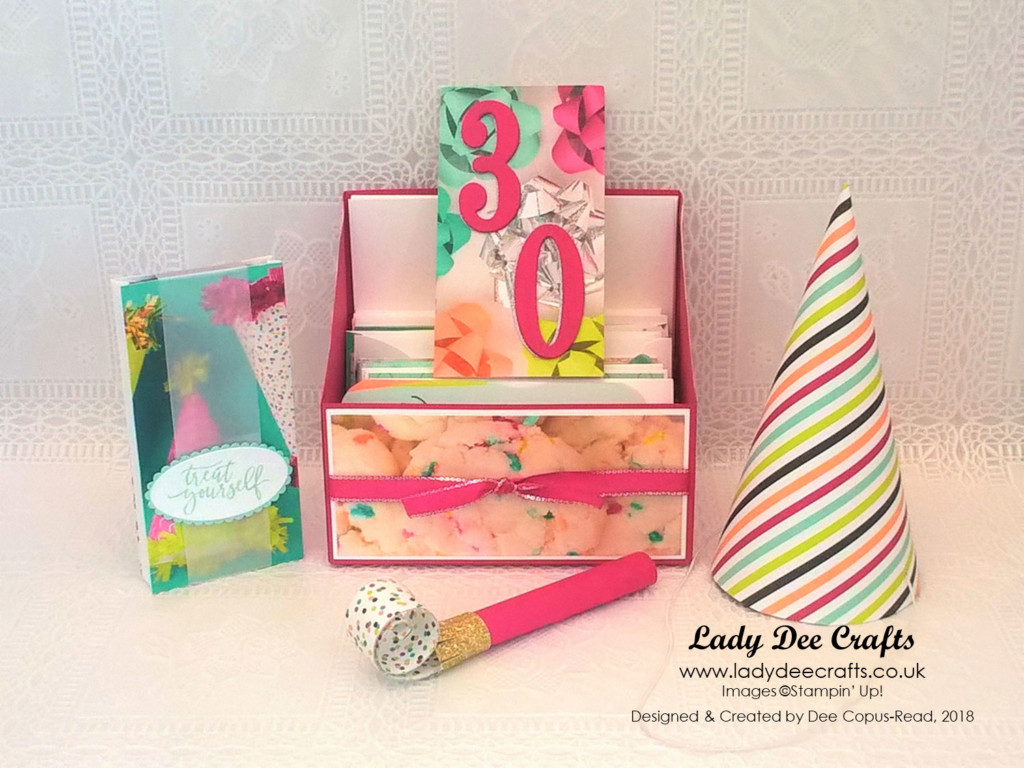
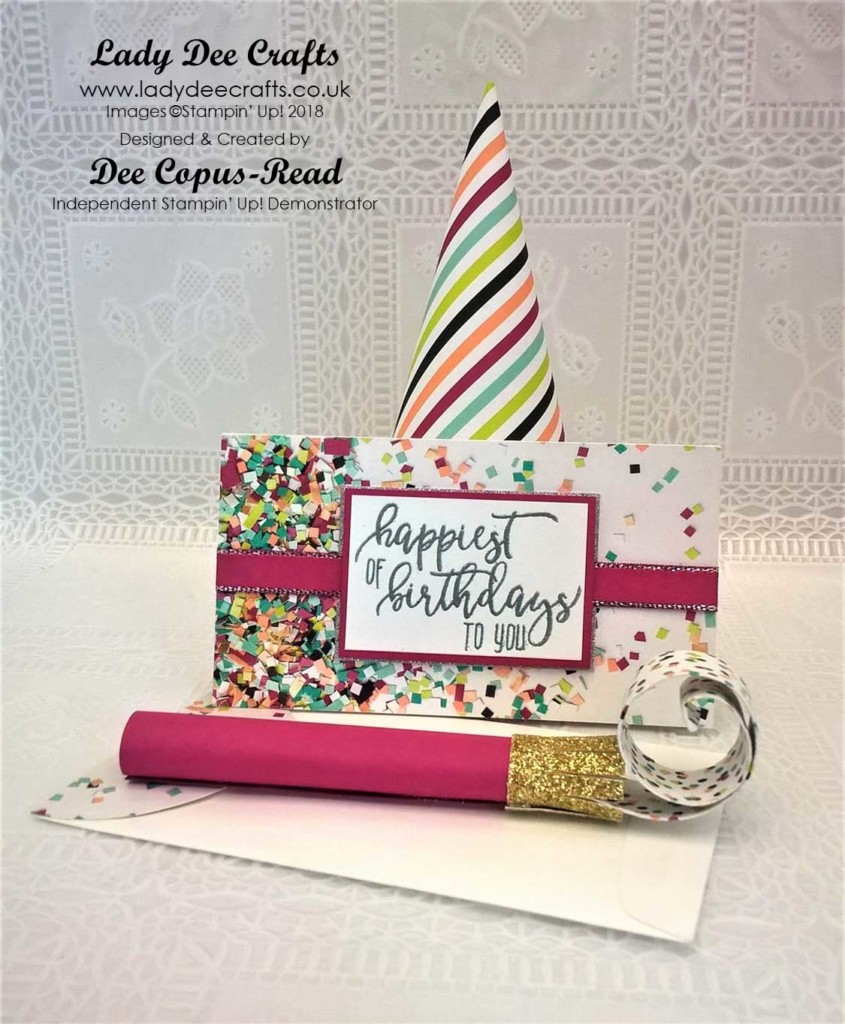
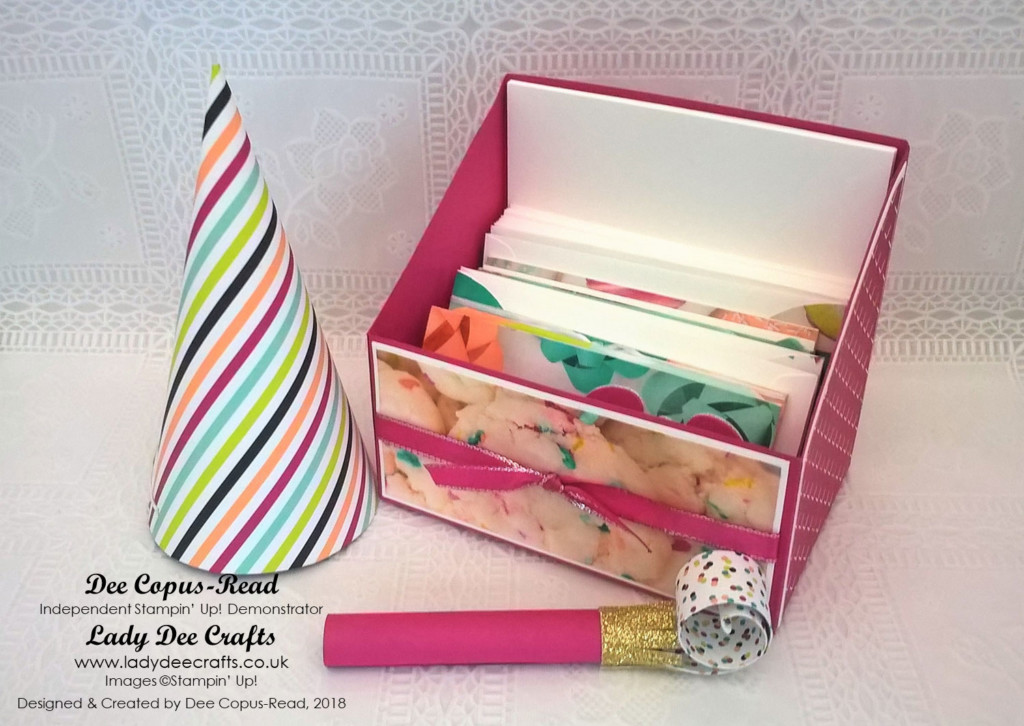
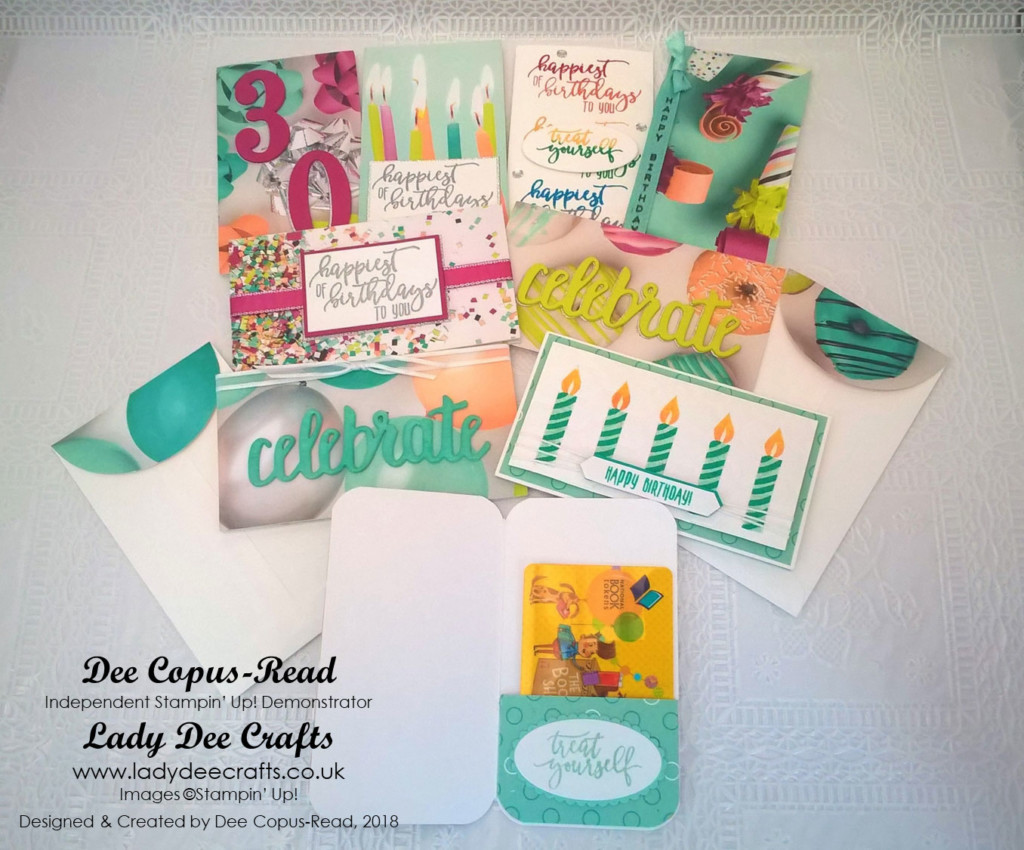
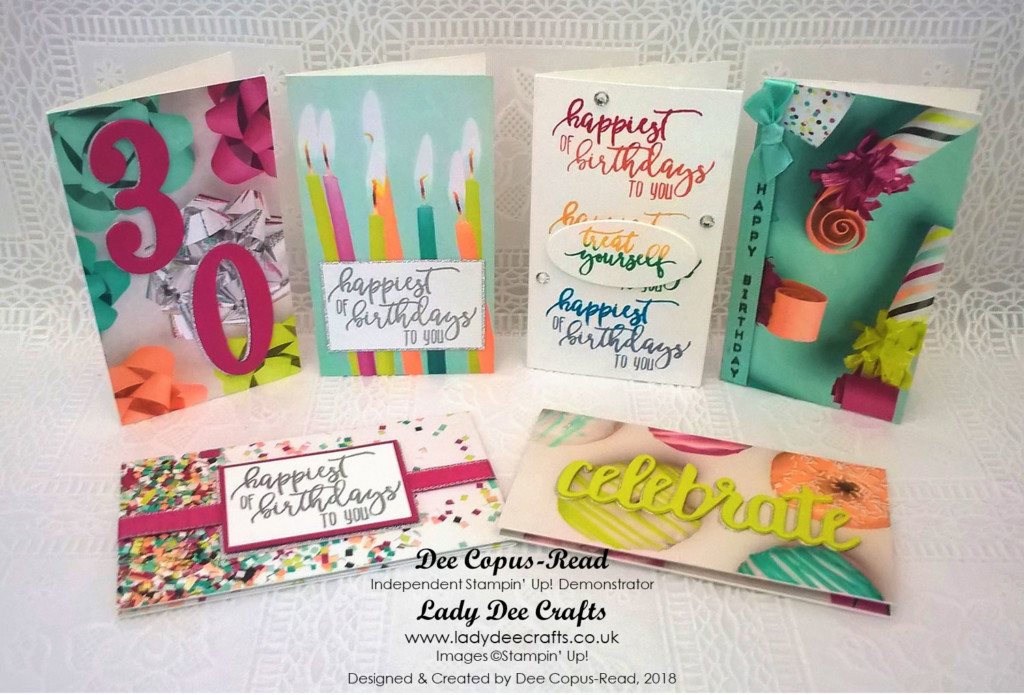
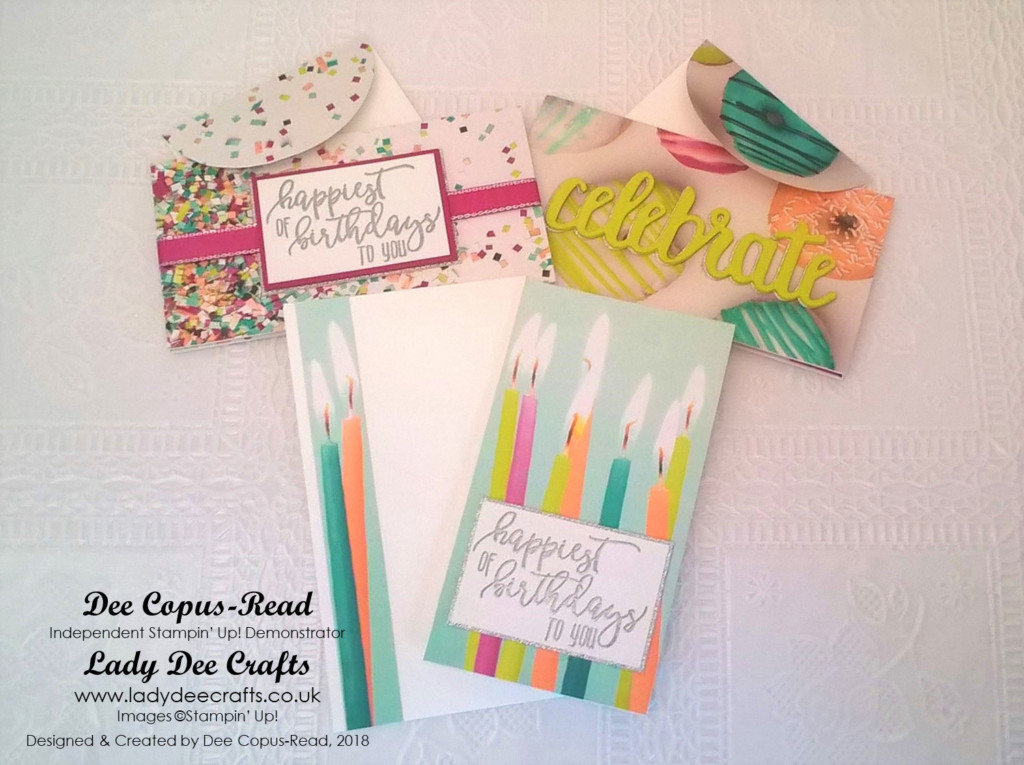
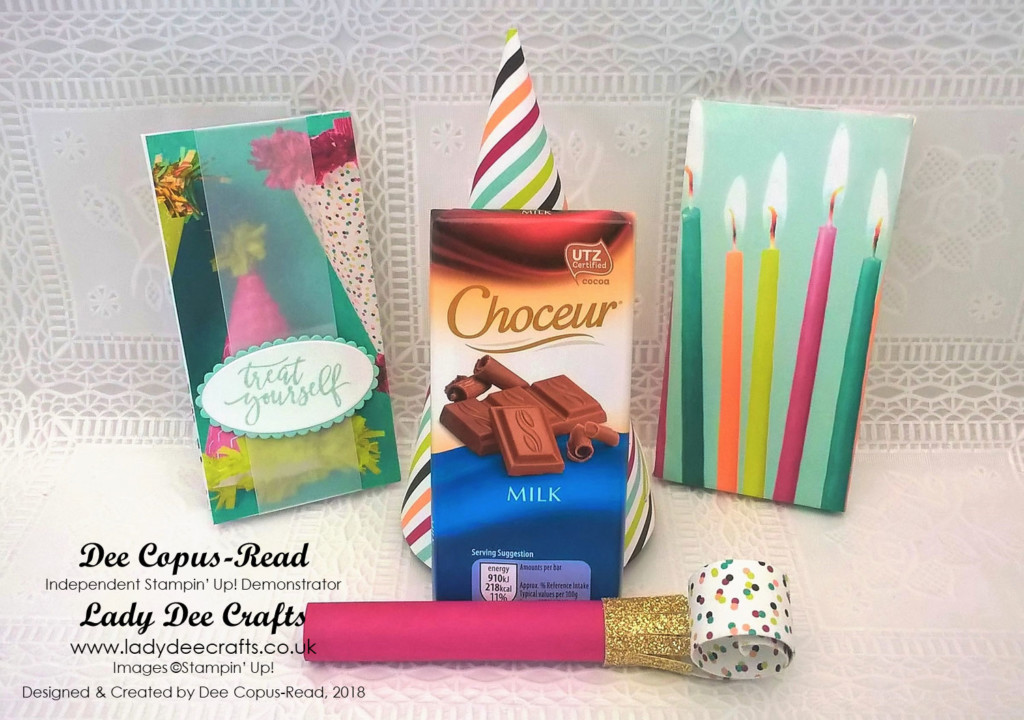
 Last month I took part in the Pootler’s Team Blog hop and I had several requests for a tutorial for the Gift Card Holder, Party Blowers and Party Hats that I made.
If you would like to see the blog post and blog hop please click here.
I’m really sorry it has taken me so long to get this tutorial done, I have been really busy making Save the Date cards for the last few weeks and this is the first chance I’ve had to type up a tutorial. I took some photo’s while making the gift card holder but they are not very good quality photo’s.
At the bottom of this post I have added a gallery of photo’s that you can click on to enlarge and also a list of the products I used.
There will be another tutorial shortly explaining how I made the party hats and party blowers.
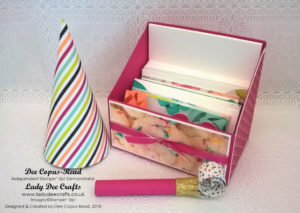
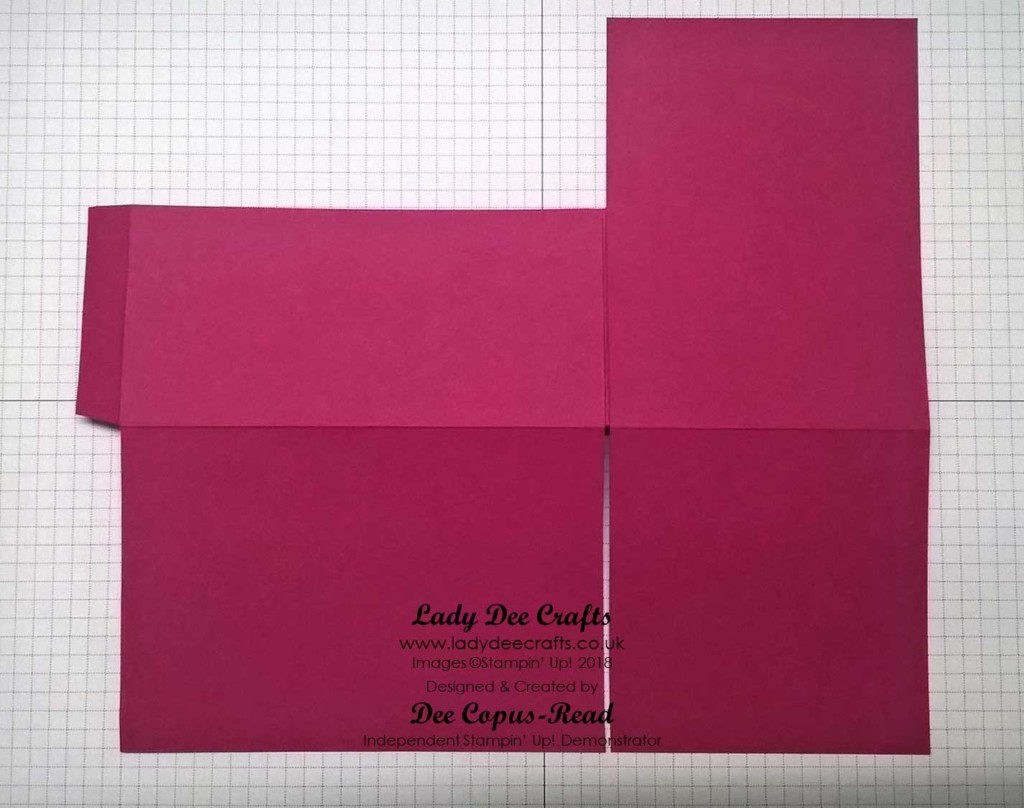
To make the Gift Card Holder you will need 2 pieces of 9-1/4″ x 8-1/8″ cardstock.
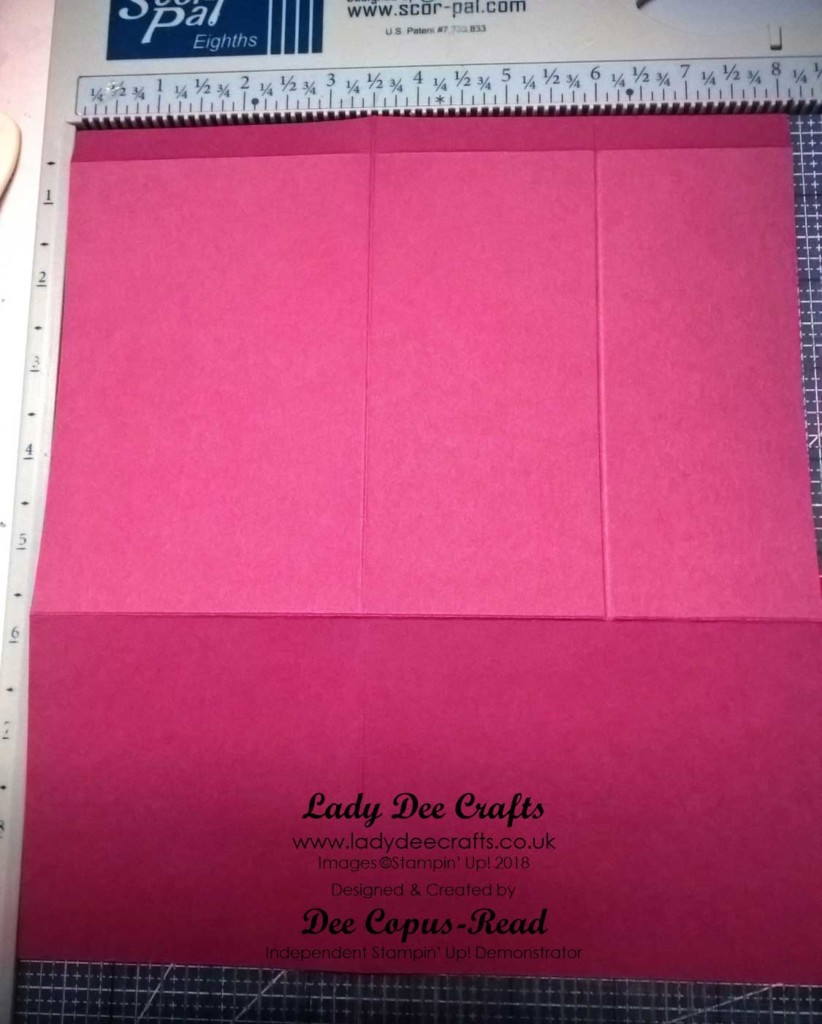
On both pieces of cardstock score the long side at 3-1/2″ and 8-3/4 and score the short side at 3-1/2″.
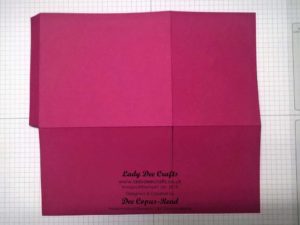
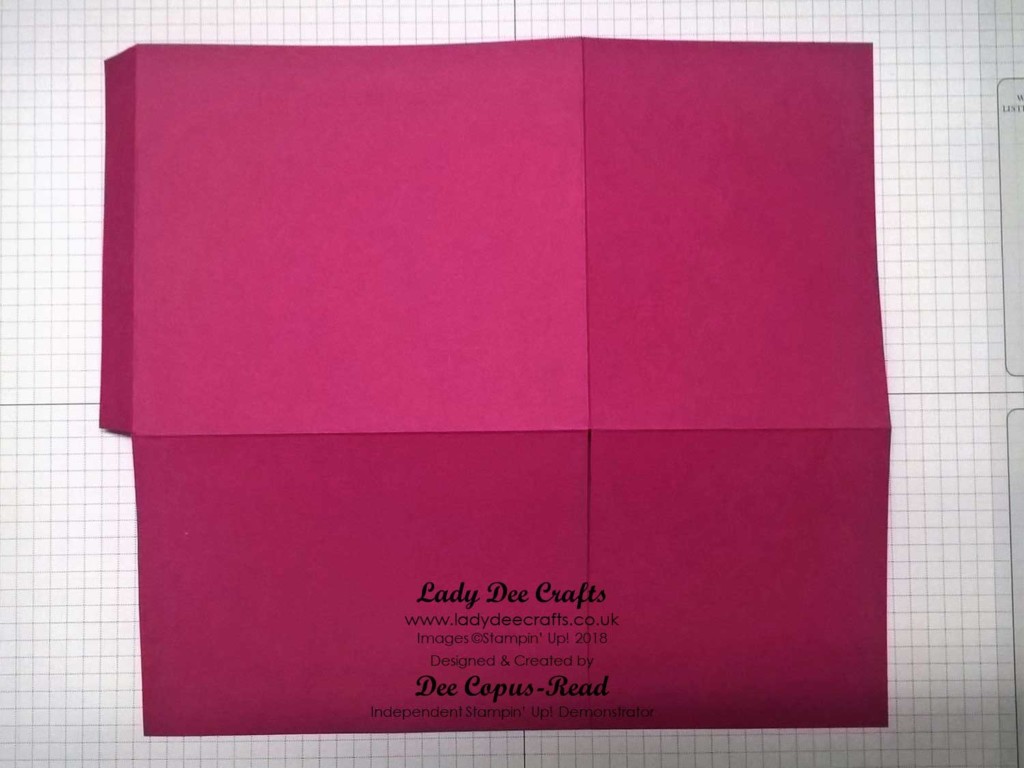
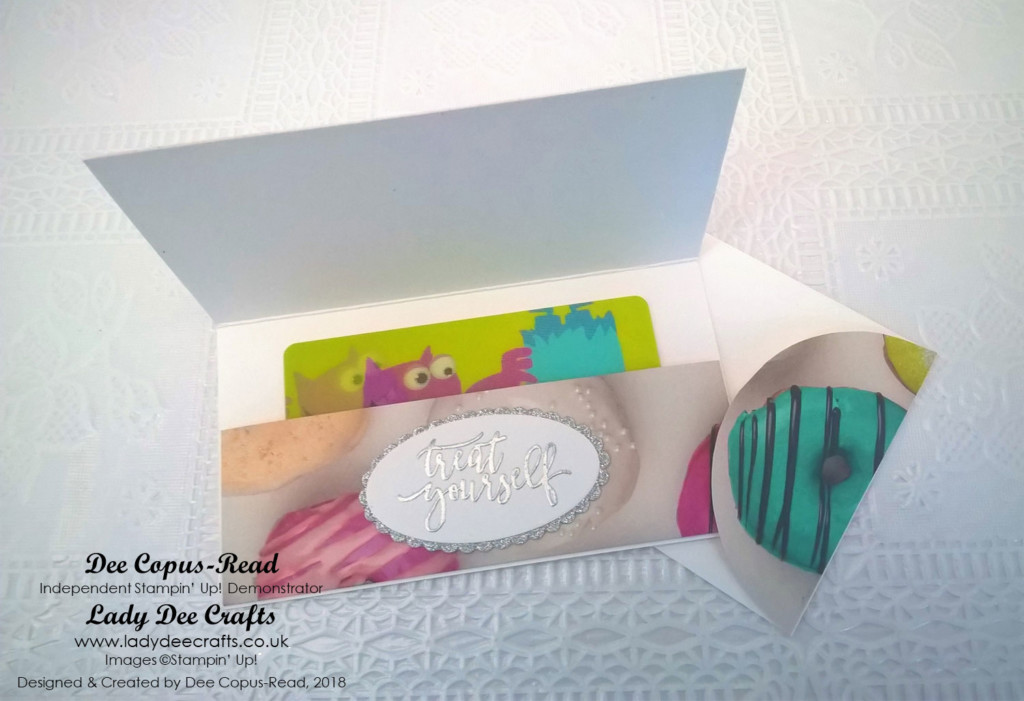
To make the front of the box put 1 of the pieces of cardstock back onto your score board with the 1/2″ tab at the top (the 3-1/2″ score line you have already scored should line up with at 3-1/2″). Score at 6″ down to the 2nd score line, see photo below. There are photo’s at the bottom of this post that you can enlarge if you need to.
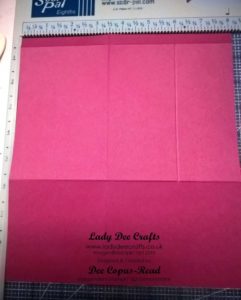
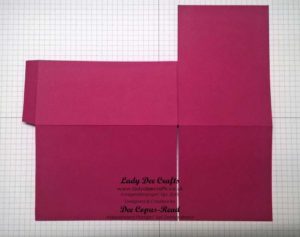
Adding this extra score line at 6″ helps cut a straighter line for the front of the box. Remove the unwanted sections as shown below and adhere.
Matting & Layering
For the front of the box you will need a piece of cardstock 5″ x 2-1/4″ and a piece of DSP 4-7/8″ x 2-1/8″. After layering these 2 pieces I adhered the ribbon then adhered it to the front of the box.
I hope you have found this tutorial helpful. If you have any questions you can leave a comment below or fill in the contact form at the bottom of this post.
The tutorial for the party hats and party blowers will be coming soon.
Subscribe to my blog and never miss a post
If you enjoyed todays project why not subscribe to my blog, you will receive an email notification when I have a new project to share. To subscribe simply add your email address to the subscription link at the top of the right-hand column.
Have yourself some crafting fun.
*When designing a project or when I CASE a project I always use my cheap cardstock to make a prototype before making it with my Stampin’ Up! cardstock. I do check the measurements I add to my blog posts but when typing lots of measurements mistakes can be made. When making any project I recommend making it first with cheap cardstock before using your best cardstock.*
This tutorial is the property of Diane Copus-Read and is for Personal Use only. If you CASE this please include my name and a link to my website and blog post.
* I have dyscalculia and I type so many cutting and scoring measurements I would suggest making one with cheap cardstock first before using your best cardstock.*
Click on an image below to enlarge it.
Product List


