
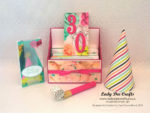
 In early January I made some gift card holders and a cute little box to store them all in for the Pootler’s Team Blog Hop.
I made some decorative Party Hats and Party Blowers for a friends 30th birthday party the day of the hop that I used as a prop in my photo’s.
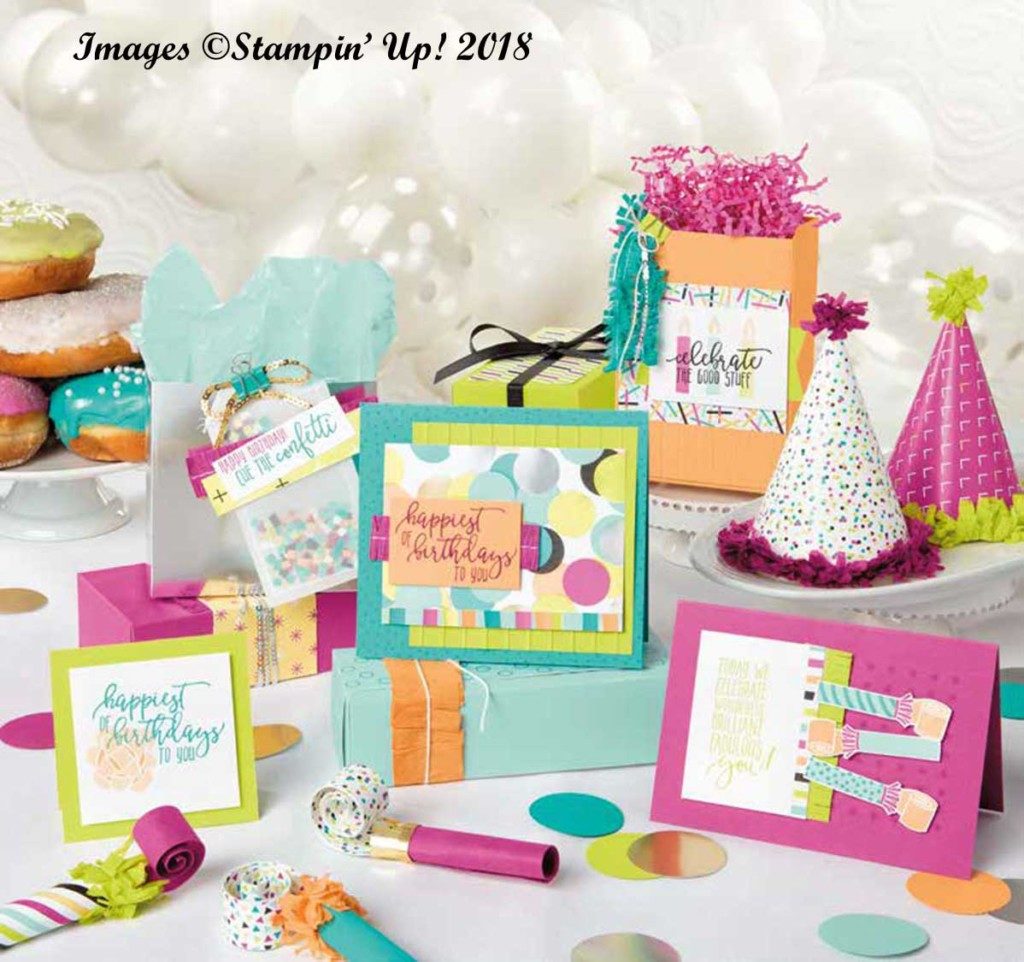
I got the idea for the party hats and blowers from a photo I had seen in the Stampin’ Up! Spring/Summer catalogue, they looked so cute I just had to make them. There wasn’t a tutorial or any measurements for them so I have come up with my own.
I had several requests for a tutorial for the party hats, party blowers and the box for the gift card holders. I have already done the tutorial for the box I made to store the gift card holders and narrow note cards, click here if you would like to see it. If you would like to see the other amazing projects that were made for the blog hop click here.
To make the Party Hats
DSP – 6″ x 6″ piece of Picture Perfect Party DSP.
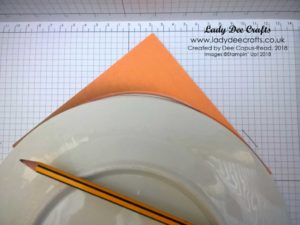
On the back of the DSP I lined up a plate on opposing corners and used a pencil to draw around the plate. After cutting I erased any remaining pencil marks and added a strip of thin double sided tape.
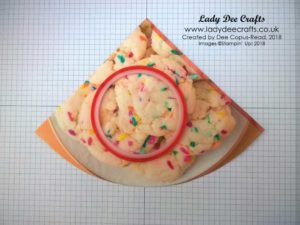
To make it easier to adhere I rolled the paper up into a cone shape and kept turning it in my hands. I added a thin line of Tombow glue to the double sided tape as I found it easier for me to line up because you don’t have that instant bond of the tape. I used my bone folder on the inside to firmly adhere the seam.
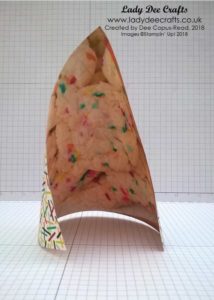
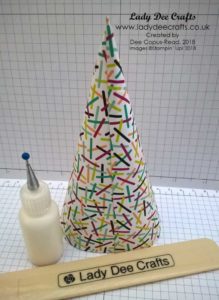
To add the elastic to the party hat I used the 1/16″ handheld punch to add 2 holes and added the elastic.
To make the Party Blowers
*Please note these Party Blowers are for decoration only, they don’t actually work.
For the ‘blower’ part I cut a 6″ x 1-1/2″ piece of DSP and scored it at 3/4″ on the short side. After folding it in half I glued it together. I ran my bone folder along it several times to get the DSP to curl.
For the tube I rolled a 2-1/8″ x 3″ piece of cardstock around my Stampin’ Up! paper piercing tool. To adhere I used tear & tape on one of the edges.
For the frill I used a piece of 5/8″ x 2-1/8″ piece of gold glimmer paper but I struggled to get this to adhere because of the curl. Next time I will use DSP.
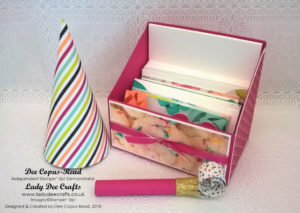
I hope this tutorial has been helpful. If you have any questions you can leave them in a comment below or fill in the contact me form at the bottom of this post and I will get back to you as soon as I can.
Subscribe to my blog and never miss a post
If you enjoyed todays project why not subscribe to my blog, you will receive an email notification when I have a new project to share. To subscribe simply add your email address to the subscription link at the top of the right-hand column.
Have yourself some crafting fun.
Products used for todays project
| |||
|
|
|


*When designing a project or when I CASE a project I always use my cheap cardstock to make a prototype before making it with my Stampin’ Up! cardstock. I do check the measurements I add to my blog posts but when typing lots of measurements mistakes can be made. When making any project I recommend making it first with cheap cardstock before using your best cardstock.*
This tutorial is the property of Diane Copus-Read and is for Personal Use only. If you CASE this please include my name and a link to my website and blog post.
* I have dyscalculia and I type so many cutting and scoring measurements I would suggest making one with cheap cardstock first before using your best cardstock.*
