
 Every Christmas T.J. and Kayleigh tell me I buy too much chocolate and even though I buy less I still have lots leftover. On January 1st all the sweets that have not been opened are put away until Easter.
With the Ferrero Rocher’s I just had to make some little boxes for them.
In my craftroom I have lots of different styles of boxes that I have made, they are great when I need some inspiration and they add some colour to my craftroom. Two very special friends are getting married later this year and I’m busy making as much as I can for their wedding so I needed a quick project. When I spotted the little Milk Carton I’d made a few years ago it was perfect.
I love Black and White, it always looks really stylish and elegant and the new Petal Passion DSP was calling out to me for these milk cartons. You can make 4 of these little milk cartons from 1 sheet of 12″x12″ DSP/cardstock.
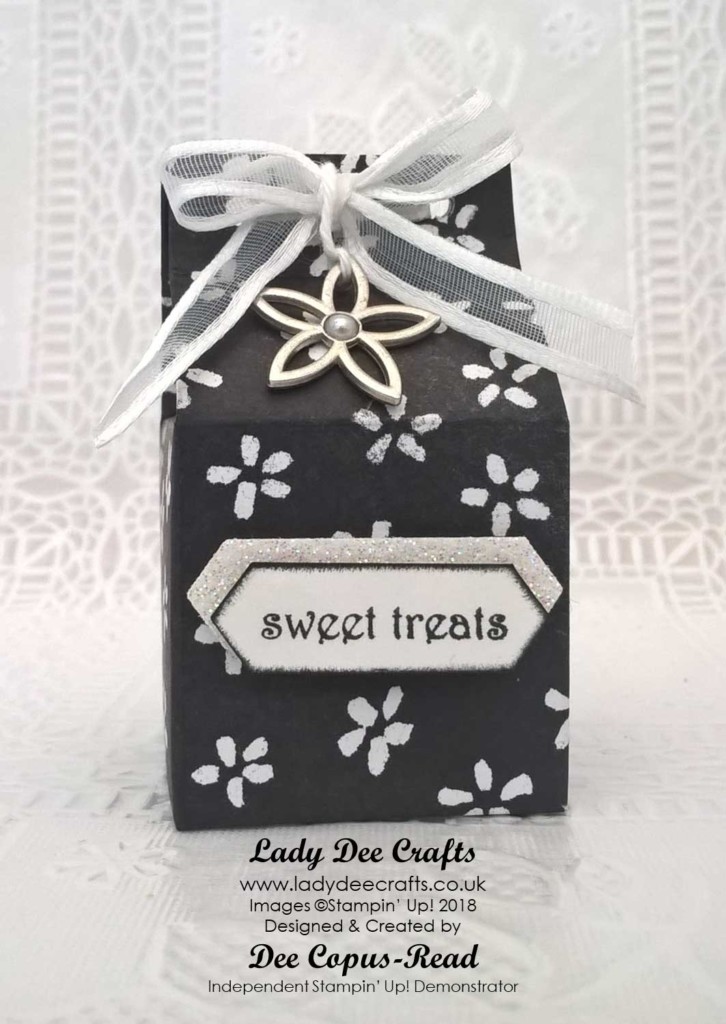
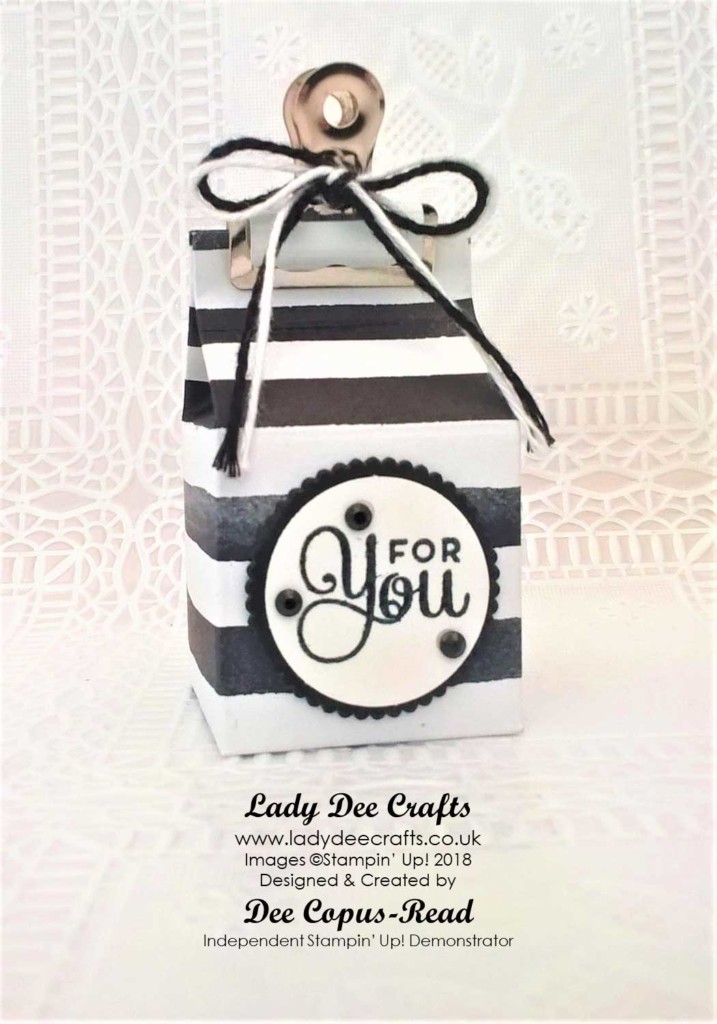
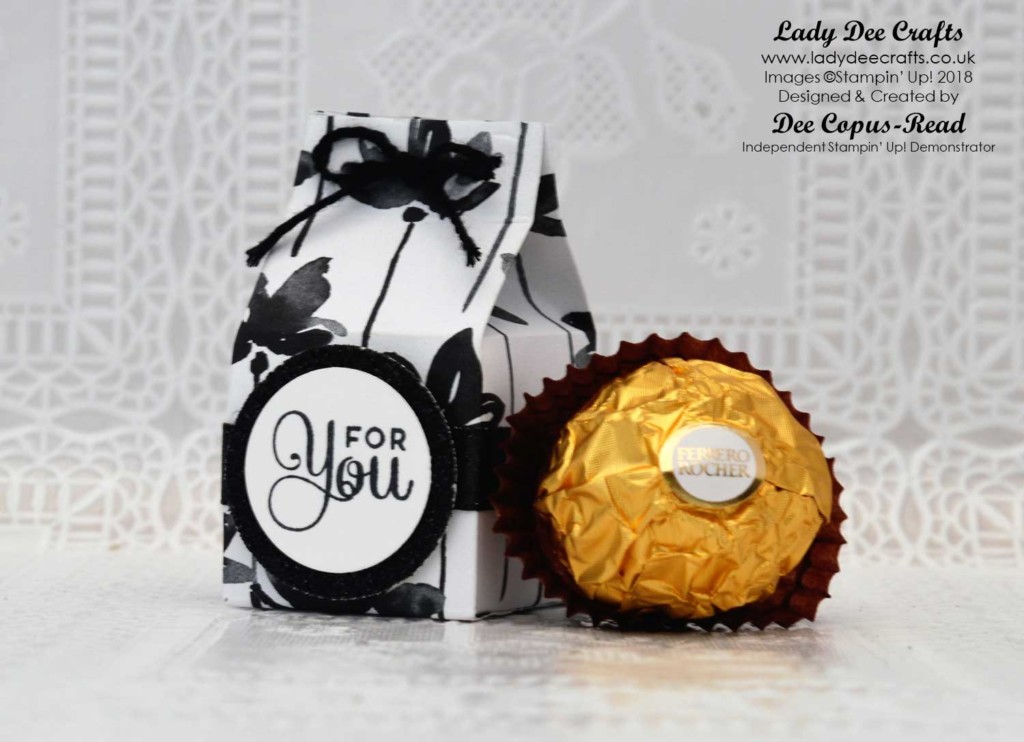
You don’t need to do much to prettify the milk cartons because the beautiful DSP does all the work for you. The ‘For You’ is from the Cake Soiree stamp set and the ‘Sweet Treats’ is from the Teeny Tiny Sentiments stamp set.
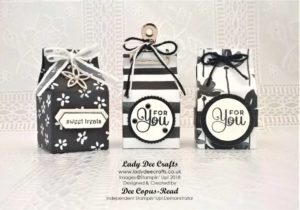
I hope you have enjoyed today’s project, they are fun to make and they look so cute.
Subscribe to my blog and never miss a post
If you enjoyed todays project why not subscribe to my blog, you will receive an email notification when I have a new project to share. To subscribe simply add your email address to the subscription link at the top of the right-hand column.
To make the Milk Cartons*
DSP or Cardstock – 4-1/8″ x 6″ (10.5x 15cms)
Score the short side at 1-3/8″, 2-3/4″ and 3-5/8″ (3.5, 7, 10.5 and 9cms)
The finished dimensions of these little milk cartons are:-
3.5cms x 3.5cms x 3.5cms, 6 cms to the top of the milk carton.

Products used:-


*When designing a project or when I CASE a project I always use my cheap cardstock to make a prototype before making it with my Stampin’ Up! cardstock. I do check the measurements I add to my blog posts but when typing lots of measurements mistakes can be made. When making any project I recommend making it first with cheap cardstock before using your best cardstock.*
