

 Yesterday I was in the mood to make some boxes so I had a rummage through my inspiration drawer. As soon as I spotted the Charlie Body Spray I knew what I wanted to make.
I hadn’t made a half cracker box for quite a while and they are so pretty.
I had several sheets of hand-stamped cardstock on my worktop and as it only takes one sheet of A4 card to make this half cracker box I decided to use a few of these (the cardstock was stamped with images from the Beautiful Peacock stamp set and the Amazing You stamp set).
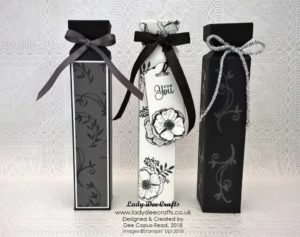
After cutting and scoring the basic black cardstock I had a sudden feeling that I had scored it wrong. I should have put the box together to check whether it was wrong but instead of doing that I cut and scored the hand-stamped Whisper White piece.
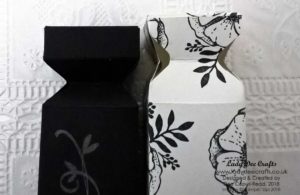
While I was putting the Whisper White box together I realised the first box I’d cut and scored was right but I wasn’t wasting this sheet of cardstock. The 2 boxes are slightly different at the top but I like both of them.
I like to make several boxes at a time and store them until I need them. These boxes only need adhesive on the side tab (they can be opened from either end) and they can be stored flat until needed.
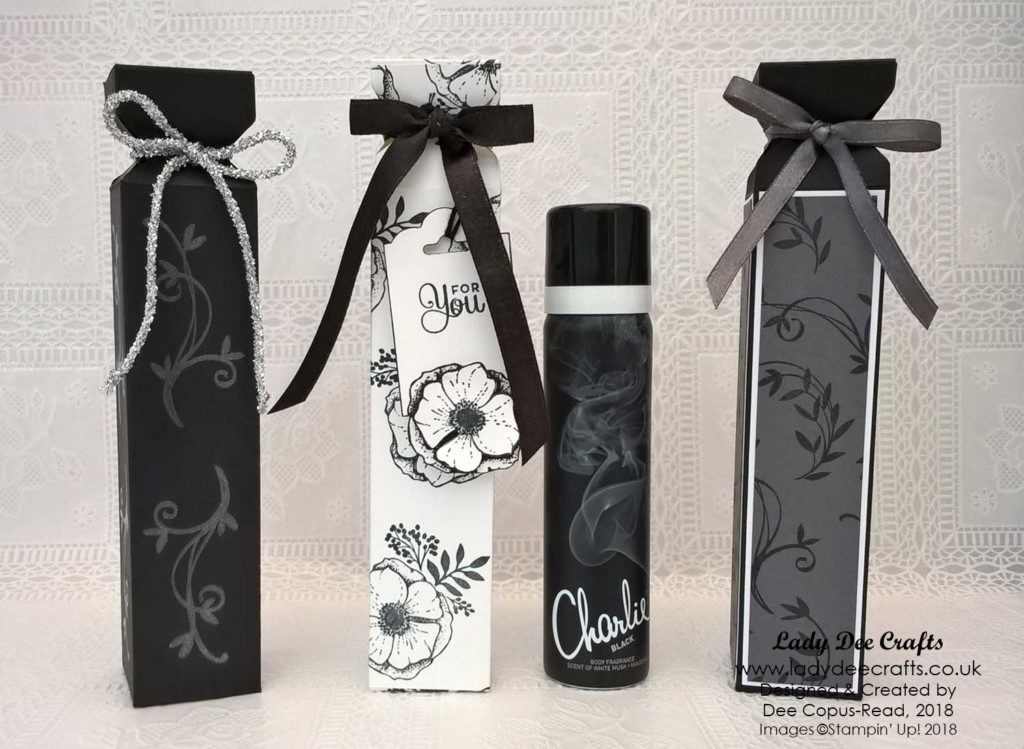
I’m trying to work with colours that I don’t normally use so for one of the boxes I cut the hand-stamped Basic Gray cardstock into panels, adhered them to Whisper White panels and added them to the box. I used some of the coordinating Basic Gray Shimmer Ribbon from the Sale-A-Bration Shimmer Ribbon pack to make a pretty bow. I love how this box turned out and I will definitely use Basic Gray more in future projects. My favourite box is the Black and White box, which one is your favourite?
Subscribe to my blog and never miss a post
If you enjoyed todays project why not subscribe to my blog, you will receive an email notification when I have a new project to share. To subscribe simply add your email address to the subscription link at the top of the right-hand column.
Have yourself some crafting fun.
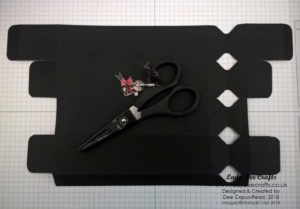
Cutting and Scoring for the Basic Black Half Cracker Box
Score the short side at 1-1/2″, 3″, 4-1/2″ and 6″.
For the ‘cracker’ part of the box place one of the long sides against the ruler of your Envelope Punch Board/Gifting board etc., line up the 3″ score line with the centre of the punch mechanism and punch.
Fold at the next score line, line the 3″ score line up and punch, you are punching through 2 pieces of cardstock so you will need to punch quite firmly. Continue until you have punched all the sections.
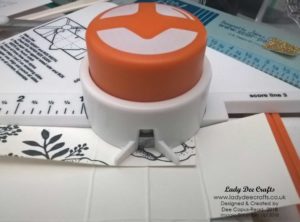
Cutting and Scoring for the Whisper White and Basic Gray boxes
Cardstock: 11-5/8″ x 6-1/2″.
For the ‘cracker’ part of the box place one of the long sides against the ruler of your Envelope Punch Board/Gifting board etc., line up the 2-3/4″ score line with the centre of the punch mechanism and punch.
Fold at the next score line, line the 2-3/4″ score line up and punch, you are punching through 2 pieces of cardstock so you will need to punch quite firmly. Continue until you have punched all the sections.
The cardstock I used for these boxes is from the Neutrals Collection, you can buy the Neutrals cardstock pack or purchase the colours individually from my online store.
Product List
|
|
|


*When designing a project or when I CASE a project I always use my cheap cardstock to make a prototype before making it with my Stampin’ Up! cardstock. I do check the measurements I add to my blog posts but when typing lots of measurements mistakes can be made. When making any project I recommend making it first with cheap cardstock before using your best cardstock.*

Hello Lady Dee!! They are so beautiful!! Me, too, I love making boxes . . . each time I see a tutorial I make the box and write down all the instructions which I place inside the box. I have been invited to an Easter lunch so I will be taking a wine bottle beautifully wrapped in one of your beautiful boxes as well as some chocolate eggs favors. Thanks so much Lady Dee!!
Hi Marina, That’s a brilliant idea to store the instructions inside the boxes. I hope you have a great time at your Easter lunch, I know the recipient of the wine and the chocolate eggs will love the boxes you have made for them. I would love to see some photo’s of the boxes you make. Lady Dee xx
Hello Dee
These are beautiful boxes I love all of them but agree with you that the black and white one stands out the most. I love making boxes and your tutorials are great! Thank you. Val
Hi Val, Thank you for your lovely comment. I’m so pleased you like my tutorials, they take quite a bit of time to do but if the tutorial helps one person then to me it’s worth it. Take care. Dee x