
 Today I have a holder I made for my Embellishments and Metallic Thread. They were all stored in different drawers and I was fed up having to keep going backwards and forwards every time I needed to embellish something.
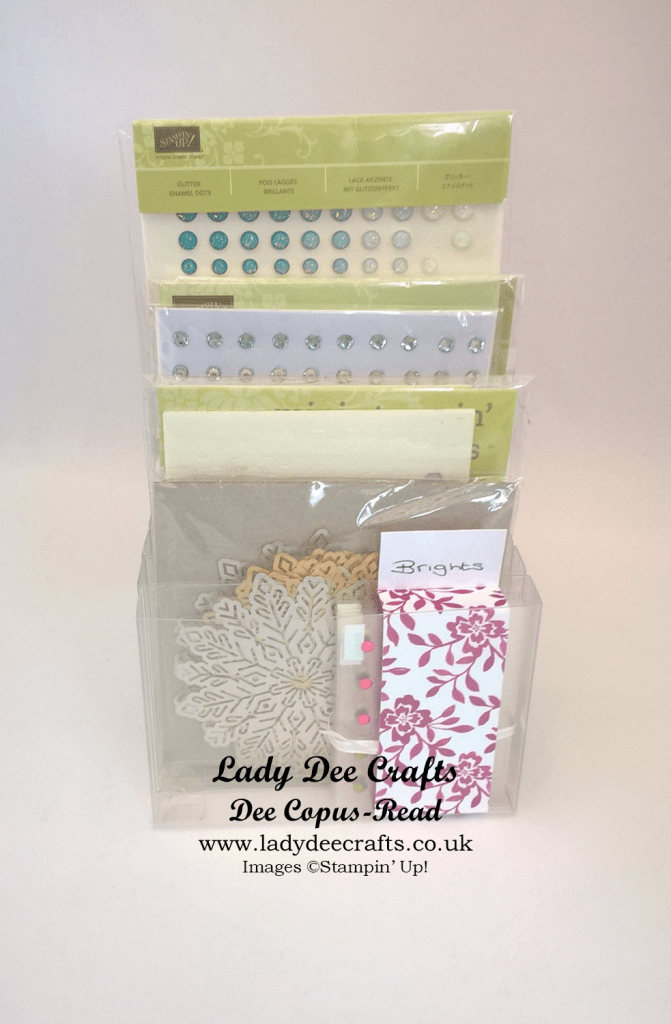
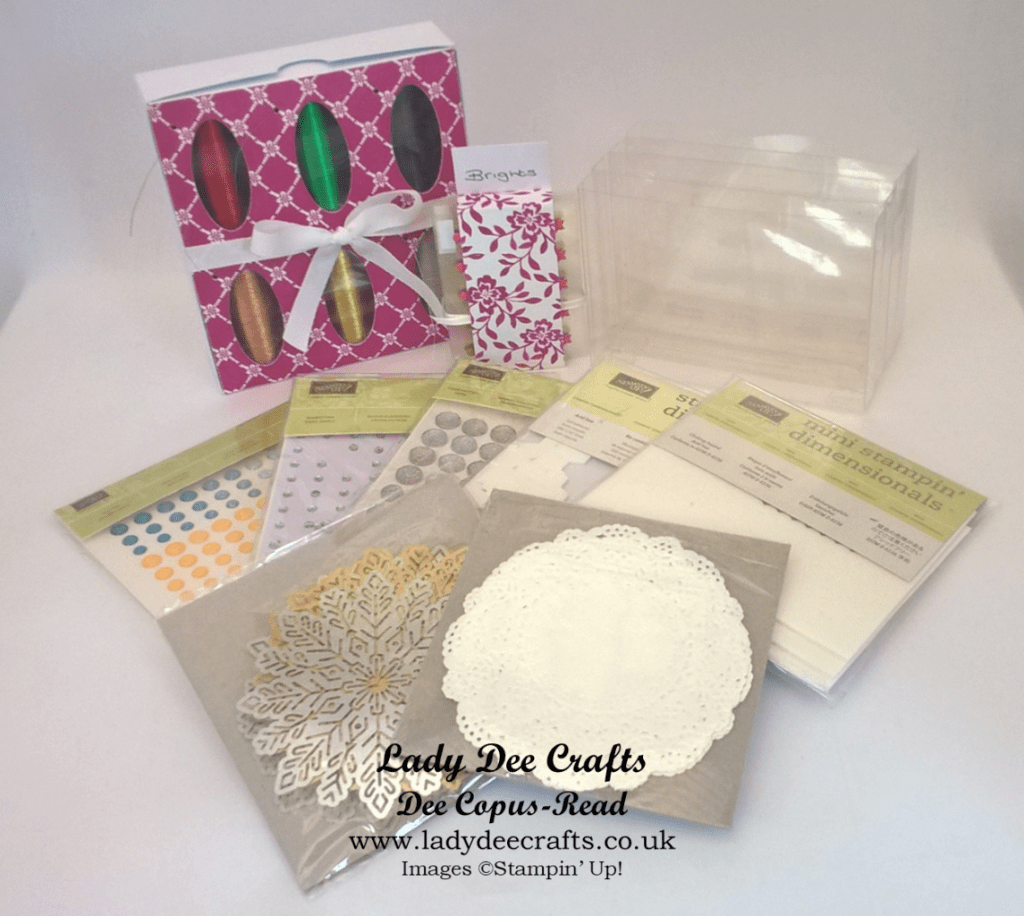
After watching a Dawn Griffith video where she cut the Acetate Card Boxes in half and put sweets inside I had to find out if the Stampin’ Up! Dimensionals, Rhinestones/Pearls, Doilies etc. would fit and they did.
This storage solution for my embellishments was quick and easy to make and it didn’t cost a lot either, the Acetate Card Boxes are £6 for 10 and you can make 20 ‘pockets’ for your embellishments. The boxes I have left over I will use for their intended purpose.

To cut the box I left it flat, put it on my cutting mat and cut it at 4-1/8″, I did this for both halves of the box. I was going to make a box to put them in but it was quicker and easier to use double sided tape to stick them together.

I cut 2 of the boxes in half and in the 4 pockets there was room for:-
- 3 packs of Stampin’ Up! Rhinestones/Pearls
and a pack of:-
- Faceted Gems,
- Glitter Enamel Dots,
- Metallic Enamel Shapes,
- Enamel Shapes,
- Dimensionals,
- Mini Dimensionals,
- Doilies
- Foil Snowflakes.
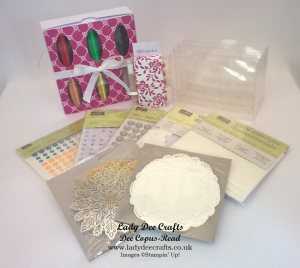
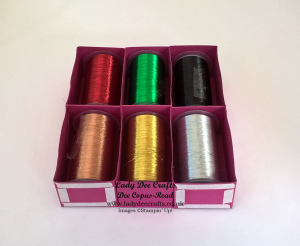
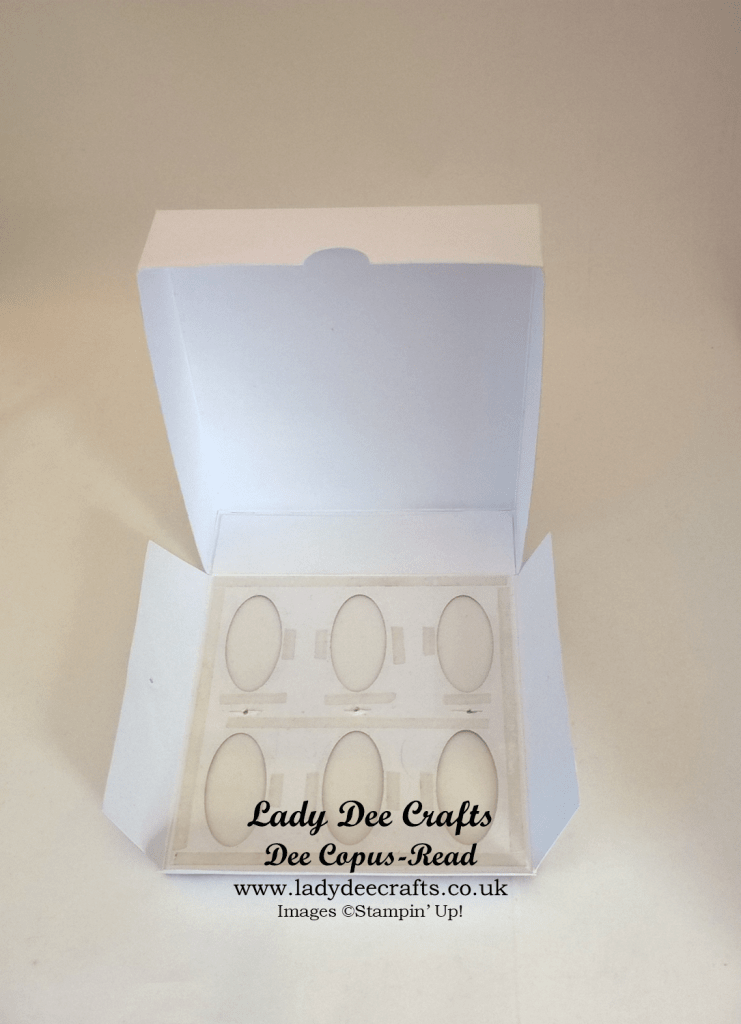
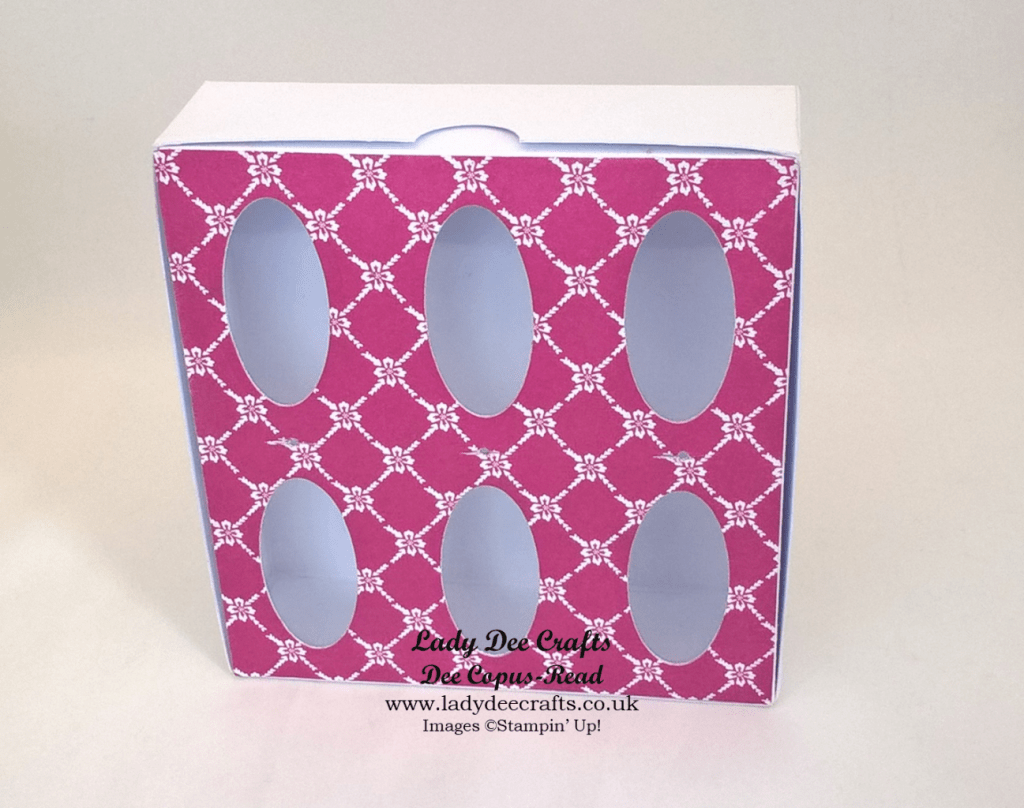
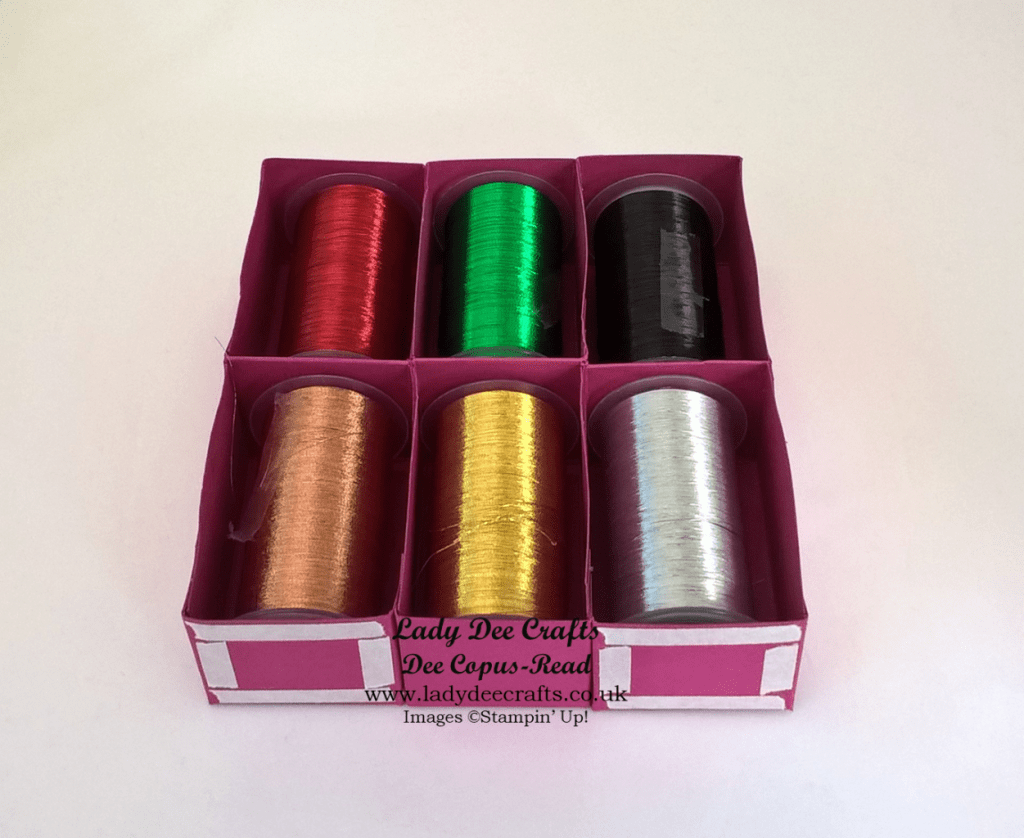
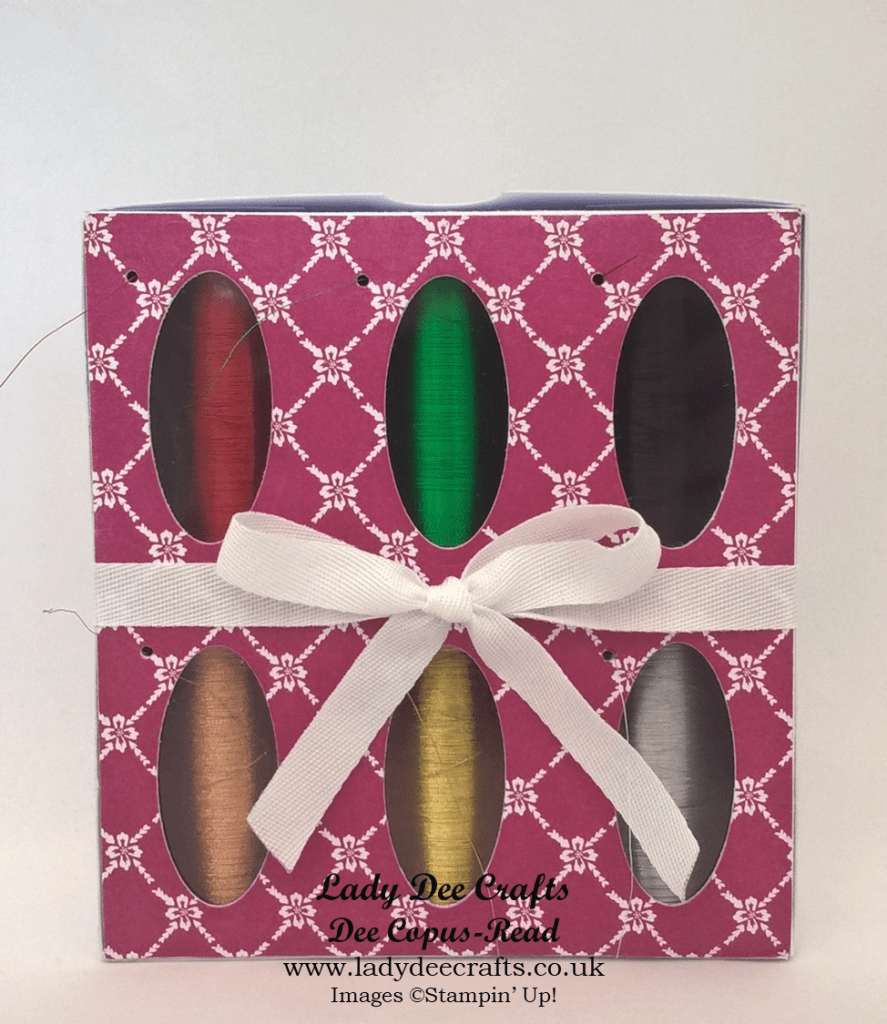
I also made a box to store the spools of metallic thread I have. The box is the same width as the acetate card boxes so that I could adhere it to the back of them.

The compartments in the tray are also large enough to hold some of the spools of Baker’s Twine I have bought over the last couple of years.
When I stood the box up the flap at the front kept falling open. I had to add the ribbon to the box to keep it closed. On the back of the box I am going to add some double sided tape below the ribbon to secure it to the embellishments holder.

I am going to make a few more pockets for my embellishments and I also want to add some Fresh Florals DSP to add a bit of colour. I still can’t decide whether to make a box for them or to glue them onto a table mat like I did with the Heat Tool/Glue Gun stand, click here if you missed this post. What do you think?
I hope you like my new storage solution for the embellishments and metallic thread. This doesn’t take up a lot of room and now they are all stored together and I can see them I will use them a lot more. It also saves me having to go backwards and forwards constantly which gives me more time to craft : )
Have yourself some crafting fun.
If you would like to see larger images click on a picture below.
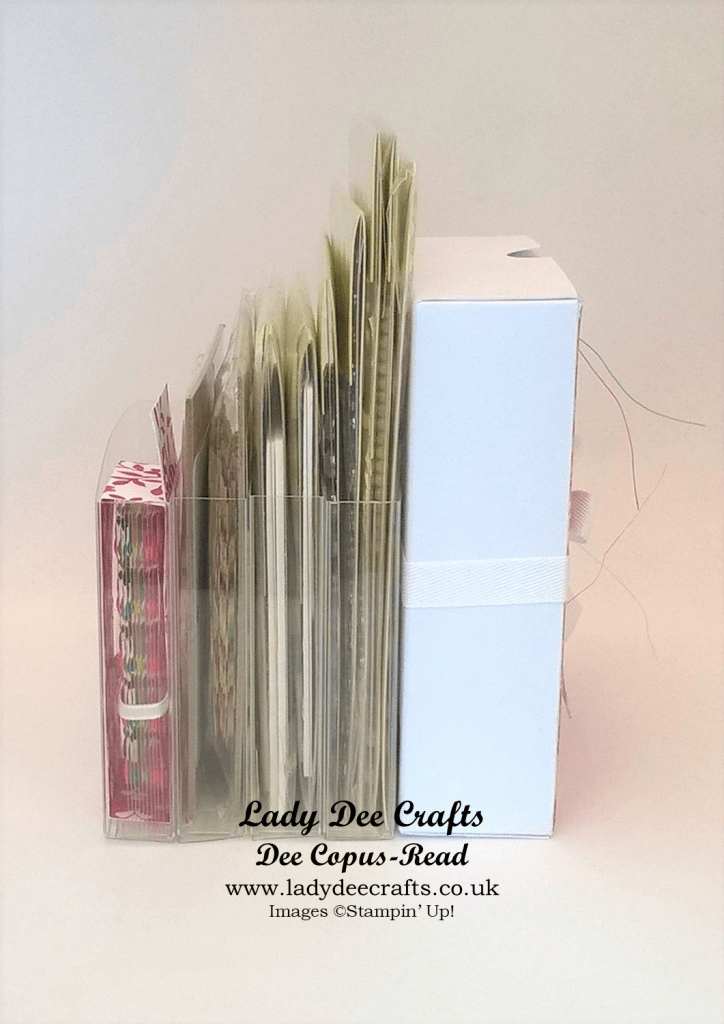
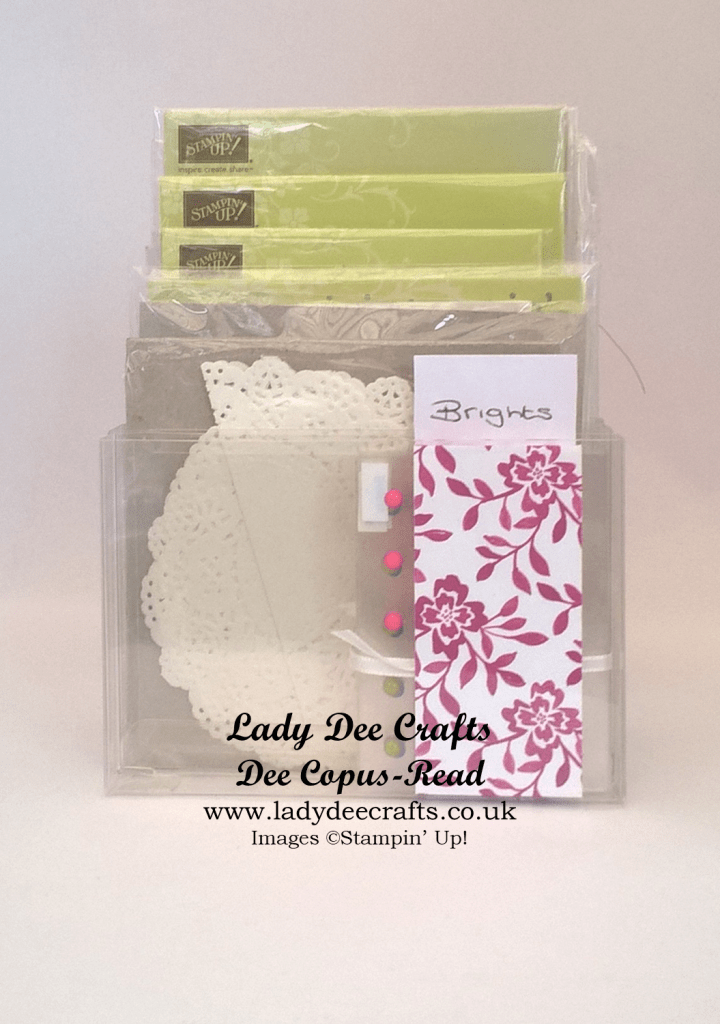
The products used to make todays project are listed below.
Product List


*When designing a project or when I CASE a project I always use my cheap cardstock to make a prototype before making it with my Stampin’ Up! cardstock. I do check the measurements I add to my blog posts but when typing lots of measurements mistakes can be made. When making any project I recommend making it first with cheap cardstock before using your best cardstock.*
